2.6 Creating Boolean Regions
It is possible to perform boolean algebra on regions to capture their union, intersection and negation.
Consider the 2D Graphical Designer in the figure below.
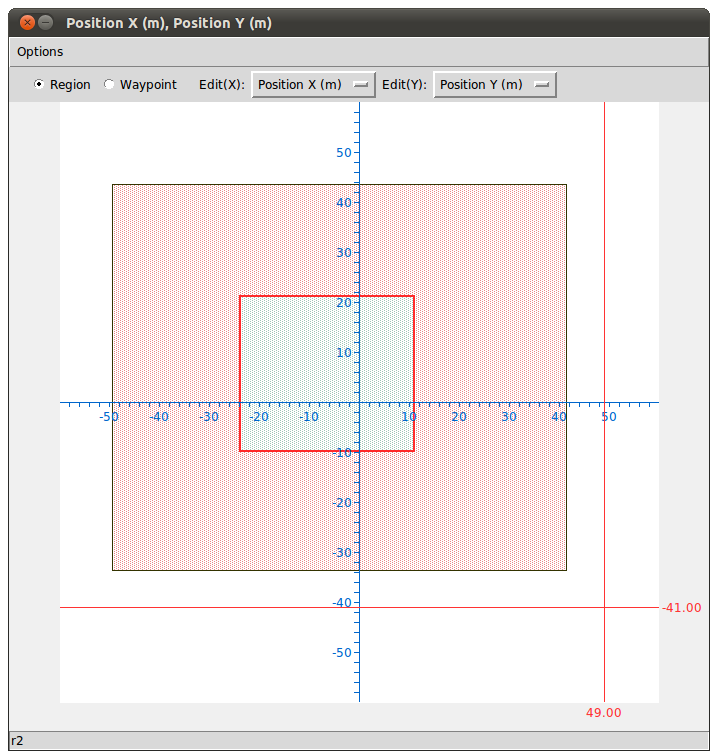
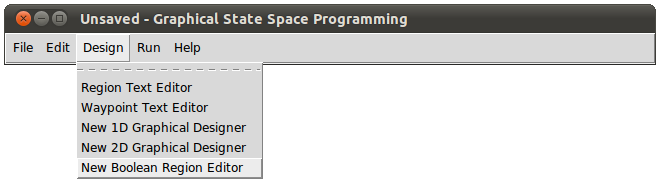
Suppose we want to capture the red region minus the blue region, thereby getting a region that is like a squre donut. Do do this, click Design -> New Boolean Region Editor.
You should see the window below.
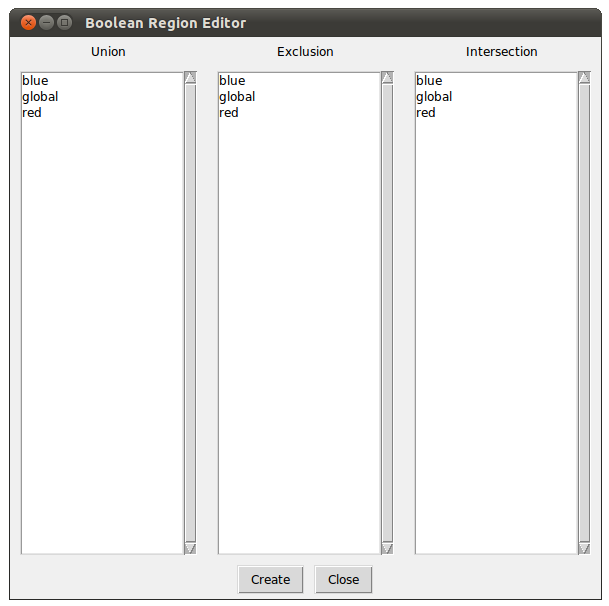
From left to right, we have the Union List Box, the Exclusion List Box, and Intersection List Box. All the regions you've created will be in each of the list boxes. You can select one or more regions in each list box. Suppose you've created regions A, B, C, D, E, and F. If you selected A and B in Union List Box, C and D in Intersection List Box, and E and F in the Exclusion List Box, then in effect you will create a region that can be expressed with the following equation:
- (A or B) and (C and D) and not (E or F)
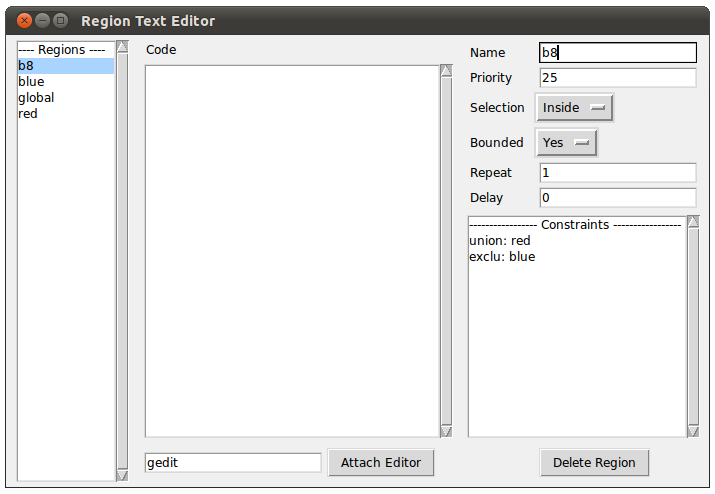
So, to create our square donut region, in the Union List Box, click red, and in the exclusion list box, click blue. You should end up with the following.
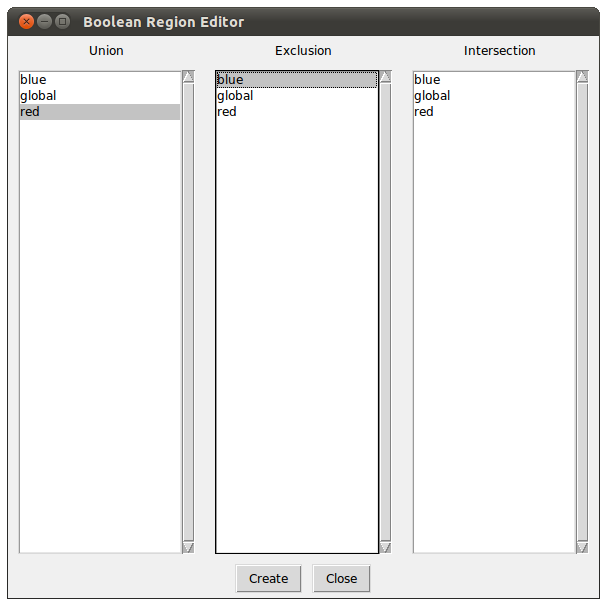
Note that we could have chosen red in the Intersection List Box instead of the Union List Box. When you click OK, the Boolean Region Designer will not close. Each time you click OK, a new boolean region will be created. You can view these boolean regions in the Region Text Editor. Their default names start with b. Go ahead and click OK. You should now see the boolean region in the Region Text Editor as shown below.
All the behaviors and customzation functionalities we have discussed about regular regions are applicable to boolean regions. If you attach code to the boolean region we created, then the code will be executed when the robot enters the square donut region. Boolean regions are not visualized in graphical designers. You cannot create boolean regions that are composed of other boolean regions.